How to paint or stain an unfinished Murphy bed
The short answer
Finish the parts flat, before you build. Paint unfinished maple with two coats of primer and two of a hard cabinet enamel; stain unfinished white oak and give it two or three clear coats. Let it cure fully before you build.
- Finish before you build. Flat parts on sawhorses take a smoother finish than a cabinet standing against a wall.
- Maple is for paint, white oak is for stain. Maple blotches under stain; oak takes it evenly and shows its grain.
- Keep finish out of the holes, grooves and hardware. Plug and tape them before the first coat.
- Dry is not cured. Wait for the cure time on the can before you lay a finished face down or close the bed.
- Test first, on a part that ends up hidden, with the whole finish, topcoat included.
What you’re starting with
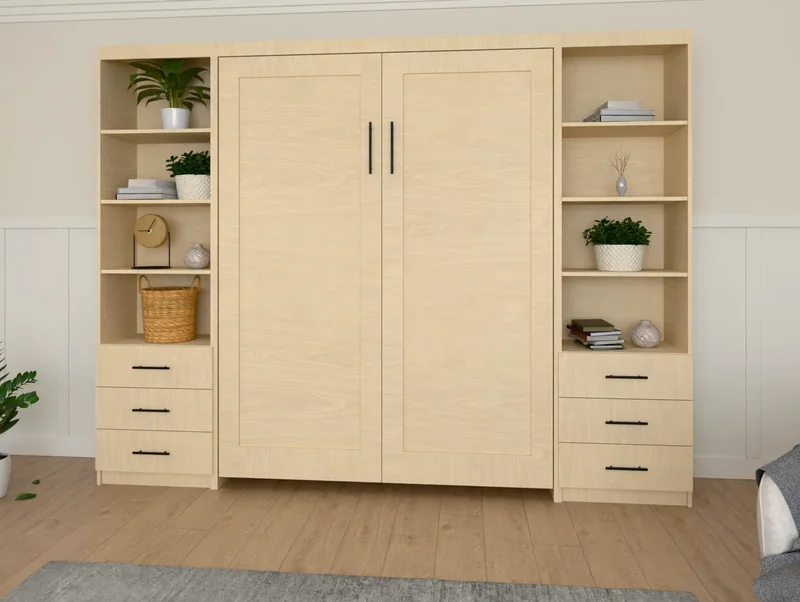
An unfinished bed or side cabinet is the same 3/4″ hardwood plywood as our finished ones, cut, edged, drilled and sanded in our shop, then left raw. There is no sealer, no stain and no paint on it. Which wood you get depends on the option you chose:
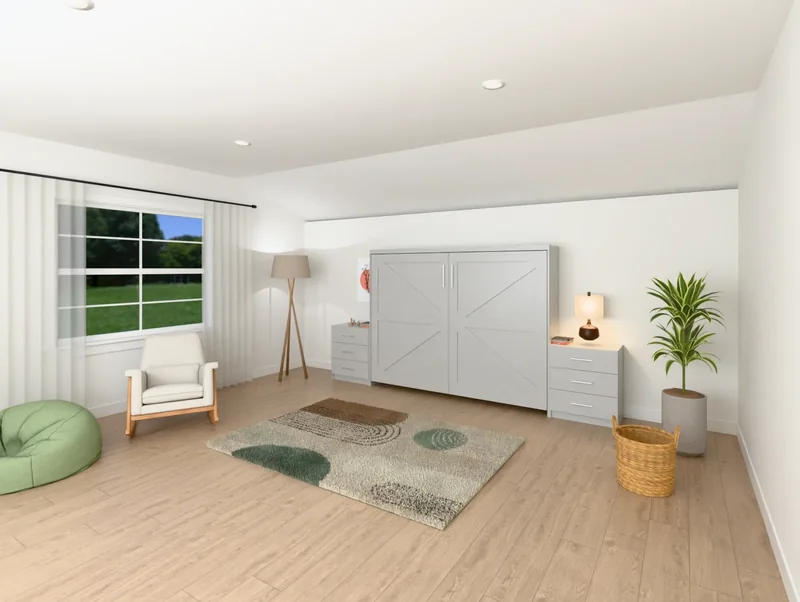
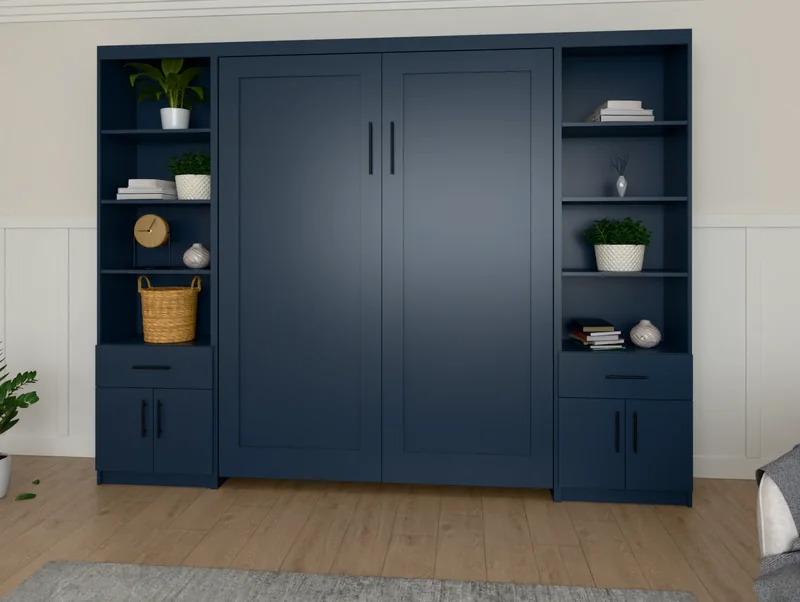
- Unfinished maple (paint grade). Maple is a close, even wood that takes paint smoothly. It is the wood under every painted bed we make.
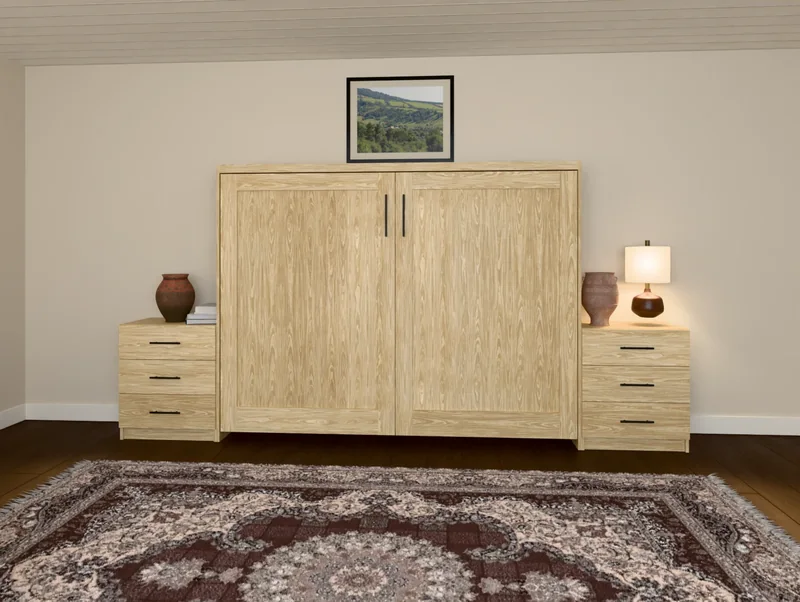
- Unfinished white oak (stain grade). White oak has an open grain that takes stain evenly and shows through it. It is the wood under every stained bed we make.
Every edge that shows is banded with a strip of the same wood, so edges and faces take your finish alike. The order comes flat-packed, and most of the fiddly work is already done: on a side cabinet the hinges are on the doors, the hinge plates and drawer slides are on the cabinet sides, and the connectors are set in their pockets. A bed’s face comes built, and its mechanism goes on at home as you assemble it.
Which parts to finish
Before you open a can, sort the parts into three piles. The parts list in your assembly guide names every one.
- Show parts: finish both faces and every edge. On the bed: the face, the cabinet sides, the headboard, the header board and header front rail, and all four rails of the bed itself. On side cabinets: the sides, the top, the deck, the shelves, the doors, the drawer fronts, the toe kick rail and the front face of the thin back panel. Remember that a Murphy bed has two lives: shut, you see the face and the outside of the cabinet; open, you see the inside of the cabinet, the headboard and the outside of the bed’s rails, foot rail included.
- Against the wall: seal them. The rail across the back of the header and its mounting cleats, and the back face of a side cabinet’s back panel, sit against the wall. A coat of primer or clear is all they need.
- Leave alone. The poplar frame sides and struts, and the thin mattress supports, live under the mattress and need nothing. Drawer boxes come clear coated on every order, unfinished or not, so leave them as they are and finish only the drawer front.
Finish the parts before you build
The best finish goes on flat parts, laid across sawhorses, where every surface faces you and nothing drips down a wall. That is how we spray ours. A built cabinet has inside corners where paint pools and brush marks pile up, and a bed on the wall is awkward to reach. So finish everything first, let it cure, and then build it with the assembly guide.
Before the first coat, keep finish out of the places it doesn’t belong. A coat of paint is thin, but four coats in a drilled hole or a groove are enough to stop a part fitting.
- Drilled holes: the pivot and leg holes in the side rails and cabinet sides, the T-nut holes, the pull holes and the rows of shelf pin holes. Plug the big ones with a twist of painter’s tape or a foam earplug, and clear the shelf pin holes with a toothpick while the finish is still wet.
- The slot for the upper spring plate on each cabinet side, and the grooves the back panel slides into. Tape them, or keep your coats very thin there.
- Connectors: put a small square of tape over each one so finish can’t fill the head. The connector bit has to seat in it, and the cover caps have to snap on.
- Hinges, hinge plates and drawer slides: cover every metal part with painter’s tape, trimmed with a sharp knife. If you’d rather take them off, the screws come straight out; bag and label each set and put them back in the same holes.
- The drawer box: tape off the box where it meets the drawer front, so you finish the front and nothing else.
Pulls go on during assembly, after the finish, so there is nothing to mask there. Number each part on a strip of tape in a spot that will be hidden, so you can match it to the parts list after it’s finished.
What you need
For either finish:
- Two sawhorses, and painter’s pyramids or stand-offs, so you can finish one side, flip the part and do the other.
- Sanding sponges or a cork block, and 180, 220 and 320 grit paper. A random orbit sander with a light touch is fine on faces, never on edges.
- A shop vacuum with a brush head, and lint-free microfiber cloths.
- Painter’s tape, a sharp utility knife, toothpicks and drop cloths.
- Nitrile gloves, safety glasses, and a respirator for any solvent-based product or spraying.
- A good light you can hold low and off to the side. Light raking across a surface shows drips, dust and missed spots.
For paint: a bonding primer made for cabinets and trim, a cabinet and trim enamel, a high-quality synthetic brush (2 to 2-1/2″, angled), and a 4″ or 6″ foam or fine microfiber roller. A sprayer gives the smoothest result if you have one and know it.
For stain: the stain, lint-free cotton rags or a staining pad, a clean container to mix it in, a clear finish, and a brush or pad made for that clear finish.
Set up a place to work
You need more room than you think. The cabinet sides of a vertical Queen are 87-1/8″ long, and its bed face is close to the cabinet’s own 65-7/8″ by 87-1/8″. Every part needs somewhere to lie flat while it dries, so plan the drying space before you start, not halfway through the first coat.
- Clean, still air. A garage or workshop swept the day before, so the dust has settled. No sanding in the same room while anything is wet.
- The temperature and humidity on the can. Most finishes want a mild, dry day. Too cold and they don’t dry or level; too hot and they dry before they flow out, leaving brush and lap marks.
- Fresh air in, fumes out, but not a fan blowing dust across wet parts.
- Out of reach of children and pets until everything is dry.
Stay safe
- Solvent fumes are flammable. Keep them away from pilot lights, water heaters, furnaces, space heaters and sparks, which is easy to forget in a garage.
- Wear a respirator rated for organic vapors when you spray anything or use a solvent-based product, and a dust mask when you sand.
- Wear gloves and safety glasses, and read the safety notes on every can.
Test on a hidden spot first
Natural wood varies from sheet to sheet, so no swatch, photo or can lid can tell you exactly how your finish will look on your bed. Test it on a part that ends up hidden: the inside face of the head rail or foot rail of the bed, which ends up under the mattress, or the underside of a side cabinet’s deck.
- Prep the test spot exactly as you will the rest: the same sanding, the same grit.
- Put on the whole finish, primer to final coat, or stain and every clear coat. A clear coat changes how a stain looks, and a primer changes how a paint covers.
- Let it dry fully, then look at it in the room the bed will live in, by day and by lamp light.
With an unfinished bed, the final color, the grain and any blotching are yours, which is what our terms say. A test spot is how you make sure you like them before they’re on the doors.
Prep: a light sanding and a clean surface
The parts leave our shop sanded, but a few weeks in a carton and a trip on a truck leave fingerprints, dust and the odd scuff. Before the first coat:
- Look over every part in raking light. Small dents can often be raised with a drop of water; marks from handling come off with a light sanding.
- For paint, scuff every face by hand or with a light orbit sander with 220 grit, always with the grain. You aren’t reshaping anything, just making it uniform.
- For stain, stop at 180 grit. Oak sanded much finer takes the stain more lightly, and every part should be sanded the same way, or they won’t take the stain alike.
- Ease any sharp edge with one light pass of a sanding sponge. Paint pulls away from a razor edge and chips there first. One pass only: the edge banding is thin too.
- Vacuum every part, then wipe it with a barely damp microfiber cloth and let it dry. Skip wax tack cloths under a water-based finish: the wax can stop it sticking.
Painting maple: prime it
Our painted beds get two coats of primer and two of color. That is the right schedule at home too.
- Choose a bonding primer made for cabinets and trim. A shellac-based primer or a high-quality water-based one both work on maple. Check the topcoat’s can for what it wants under it, and use primer and paint that are meant to go together.
- Edges first, then faces. On each part, brush the edges, then roll the face and lightly brush it out in one direction, with the grain, the full length of the part.
- Thin coats. A thin coat levels and dries hard. A thick one sags, wrinkles and takes days to cure.
- Sand after the first coat. A water-based primer raises the wood’s fibers, so the dry coat feels rough. That is normal. Sand it smooth with 220 grit, dust off, and put on the second coat.
- Sand the second coat lightly with 320 grit, just enough to knock off dust nibs, and clean it again.
Flip each part once its first side is dry to the touch, onto the pyramids, and do the other side the same way.
Painting maple: the color coats
Use a cabinet and trim enamel, not wall paint. Wall paint stays soft for a long time and sticks to itself, which is a problem on a bed whose face closes against its cabinet every day. A cabinet enamel, often sold as a water-based alkyd or urethane enamel, cures hard, levels out brush marks and stands up to hands. Satin or semi-gloss is easiest to keep clean.
- Stir the paint well. If you need more than one can of a color, mix them all together in one bucket so every part matches.
- Put on the first color coat as you did the primer: edges, then faces, thin and with the grain.
- Let it dry for the recoat time on the can. Sand lightly with 320 grit only if you feel dust or a drip, then clean.
- Put on the second color coat. Don’t sand this one. Two good coats over two coats of primer is a finished bed; a third coat is only for a color that hasn’t covered evenly.
If you spray, thin and strain the paint as its can says, spray a scrap first to set the gun, and lay each pass half over the last.
Painting the bed face and doors
The bed face is the part everyone sees, and it’s two doors built as one piece. On a Slab face, paint it like any flat panel, edges then face, and run a brush along the reveal between the two doors so it is covered but not filled.
On a framed face (Shaker, Double Shaker, Five Panel, Barn Door, Barn Door X), work in this order, so each part’s brush marks run the way its wood does:
- The inside edges of the frame around each panel.
- The flat panel itself.
- The horizontal rails, brushing side to side.
- The vertical stiles last, brushing top to bottom the full length, which cleans up any paint that strayed onto them from the rails.
On the Barn Door faces, paint the diagonals along their length after the panels and before the rails. Watch the inside corners of every panel, where paint likes to pool: brush out any build-up before it starts to set.
Side cabinet doors and drawer fronts are painted the same way, with their hinges and boxes taped off.
Staining white oak
Our stained beds get a stain coat and two clear coats. At home, choose your stain by how you want to work:
- Oil-based stain gives you the most working time and the most even color on big panels. It needs to dry fully before a water-based clear goes over it, often a day or more; the can says how long.
- Water-based stain dries fast and smells less, but it can leave lap marks on a big panel. Work one part at a time and keep a wet edge.
- Gel stain sits on the surface more and is the most forgiving on a large or standing part.
- Mix all your stain together in one container before you start, so the last part matches the first. Stir it, don’t shake it, and stir again as you go: the color settles.
- Work one part at a time. Flood the stain on with a rag or pad, edges included, so the whole surface is wet.
- Wait the time on the can, the same time on every part. A longer wait makes a darker color, and the parts won’t match if you vary it.
- Wipe off all the extra, with the grain, finishing with long strokes that run the full length of the part. Stain left sitting on top of oak never dries properly and the clear coat won’t stick to it.
- Let it dry fully, then do the other side.
For a darker, richer color, you can “water pop” the oak first: wipe it with a damp cloth, let it dry, then stain. The raised grain takes in more stain. Test it, because it darkens a lot. For the natural look of the wood with no color, skip the stain and go straight to the clear coats.
Clear coats over the stain
Stain gives oak its color; the clear coat is what protects it. Don’t leave a stained bed without one.
- A water-based polyurethane stays clear and keeps white oak light. It suits most colors.
- An oil-based polyurethane adds a warm, amber tone that deepens over the years. It looks lovely over warm browns and changes pale or gray stains.
- Oil and wax finishes look beautiful but wear faster on a part that’s handled every day. A bed face is handled every day.
- Stir the clear, never shake it: shaking fills it with bubbles that dry in the finish.
- Brush or pad on a thin coat, with the grain, edges first.
- Once it’s dry, sand lightly with 320 grit or a fine synthetic pad, just enough to make it smooth, and clean off the dust.
- Put on a second coat. Add a third on the bed face and the cabinet sides if you want extra wear; leave the last coat unsanded.
Sand gently between coats, especially on edges: it is easy to cut through the clear and the stain under it into bare wood, and a stain touch-up there rarely matches.
Dry is not cured
A finish is dry when you can touch it, often within hours. It is cured when it has reached its full hardness, which can take days or weeks. The can gives both. Until a finish is cured it marks easily, takes the print of anything pressed into it, and two painted surfaces pressed together can stick.
- Wait at least the full recoat time between coats, longer in cool or damp weather.
- Leave the finished parts flat and apart, not stacked, until they’ve cured enough to handle.
- Build only once the finish is hard. The assembly guide has you lay the bed face finished side down on a blanket; on soft paint, the blanket’s weave stays in it. Lay a clean, smooth cotton sheet over the blanket for extra care.
- Give the paint its full cure before the bed spends long stretches shut, where the face presses on its cabinet.
Building it once it’s finished
Peel off the tape, clear every hole with a toothpick or the right drill bit turned by hand, and check that the hardware plates sit flat. Then follow the assembly guide for your bed and each side cabinet, step by step, exactly as for a finished order.
- Keep a blanket under every finished face, and screws and tools off it.
- Set your drill’s clutch low. A slipping bit marks a finished surface.
- Lift parts into place rather than sliding them across each other.
If our crew is installing it
With Delivery + Installation, our crew builds and anchors your order as it arrives, so an unfinished order goes on the wall raw and you finish it where it stands. That works, with more masking and more care. Finishing the parts flat before they’re built gives the smoothest result, so if you plan to finish it yourself, call us before your install day and we’ll talk it through.
Finishing in place:
- Take off the pulls. Take off the side cabinet doors: press the release at the back of each hinge arm and lift the door away. Finish them flat, the same as above.
- Put drop cloths down and tape off the wall, the floor and the hinge plates.
- Do the face and the outside of the cabinet with the bed shut. Do the inside of the cabinet and the outside of the bed’s side rails with the bed open.
- Never paint the mechanism, the springs, the pivots, the spring plates or the legs. Tape over them, and never take a spring off to get at something.
- Leave the bed open, with nothing pressing on the wet face, until the finish has cured enough to close.
Care and touch-ups
- Clean with a soft cloth, damp with water and a drop of mild soap, and dry it off. Skip ammonia, abrasive cleaners and furniture polish with silicone, which makes a later touch-up hard to stick.
- Keep a little of your paint or stain and clear, labeled with the color, the date and what it was used on. Touch-ups match best from the same batch.
- Touch up a chip with a small artist’s brush, a thin coat at a time, and feather it out.
A finish you put on is your own work, so our warranty doesn’t cover it, as our terms set out. That’s one more reason for a test spot, thin coats and a full cure.
Questions we get
Can I stain the unfinished maple?
You can, but maple is paint grade for a reason: it often blotches under stain, taking color unevenly in patches. If you want to try, use a pre-stain conditioner or a gel stain, and test on a hidden part first. For a stained look, unfinished white oak is the better choice.
Can I paint the unfinished white oak?
Yes. Use a stain-blocking primer so the oak’s tannins don’t bleed through as tan spots, and expect the open grain to show as a texture under the paint unless you fill it first. For a smooth painted look, unfinished maple is the better choice.
Do I need to finish the inside of the cabinet?
Yes, the parts that show when the bed is open: the inside faces of the cabinet sides and the headboard. Give the back of every door and the bed face the same coats as the front, so the plywood stays flat. The poplar frame, the mattress supports and the drawer boxes need nothing.
How long does it take to finish a bed?
Plan on several days for the coats, because each needs its recoat time, and then the cure time on the can before you build. Most of that is waiting, not working, but the parts need somewhere to lie flat the whole time.
Should I finish it before or after I build it?
Before. Flat parts on sawhorses take a smoother finish, and nothing drips down a wall. Keep finish out of the drilled holes, grooves and hardware, let it cure, then build it with the assembly guide.
Ready to plan yours?
Every bed is priced live on its page, built to the measurements you give us.